You will find a newly designed Add new Channel page where the configuration settings are separated from the connectors’ configuration in the two tabs. The access path:
1. Settings ->Channels, click button ![]()
2. Select a Marketplace or B2B or a Shopping Cart. Click the relevant channel logo to configure the channel.

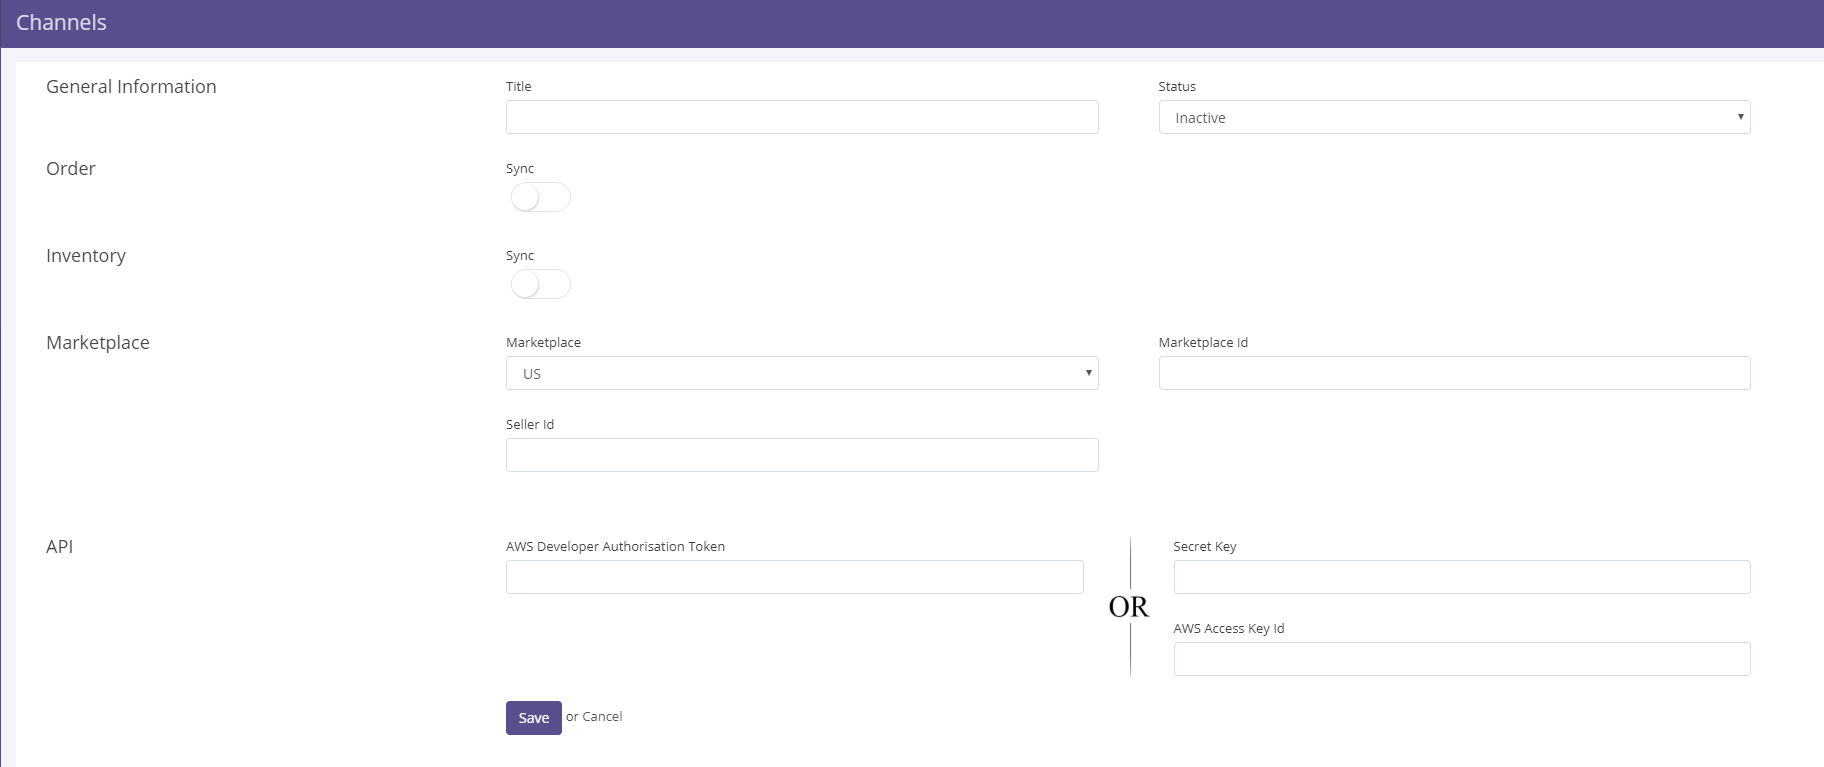
3. The meaning of each field is as explained below:
| FieldName | Description |
|---|---|
| Title | Give your channel any name that will recognize it. Give a name which makes most sense to you. |
| Status | Status field helps you to active / Inactive your channel. |
| Order Sync | Helps you to enable/disable your channel orders. If disable no orders will be sync. |
| Inventory Sync | Helps you to enable/disable your channel products. If disable no products will be sync. |
4. Once the required values are entered on this page, and you click you will jump to the next tab for Connectors setting.
5. As soon as the channel is configured successfully, you can see the Channel Summary.
6. You will also find an easy identification of broken connectors on this page.
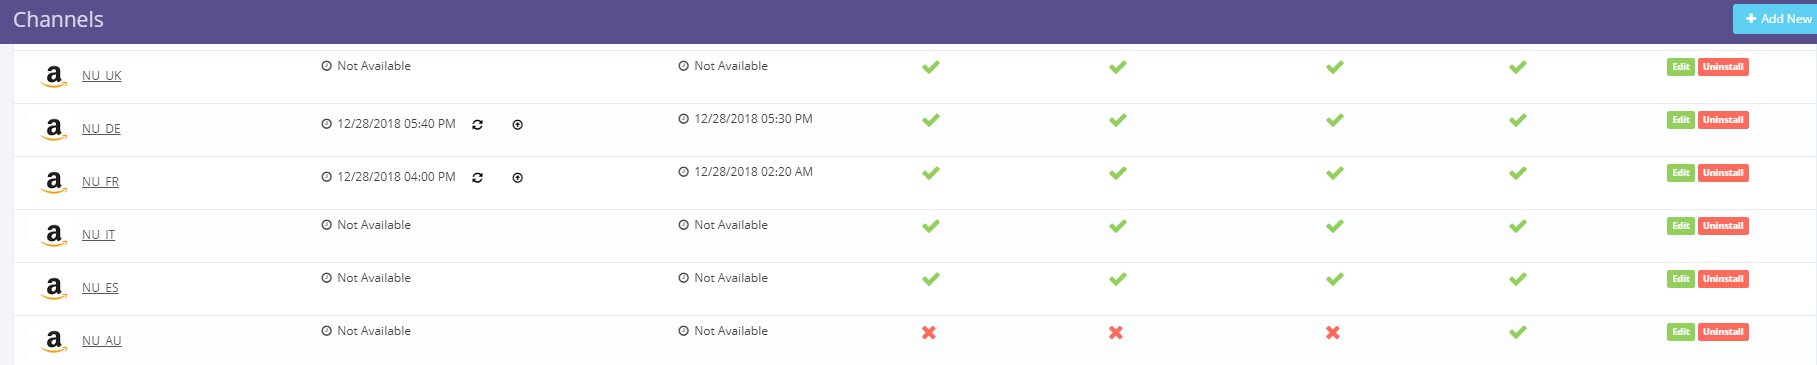
7. The other channel settings can be edited and saved easily.
